
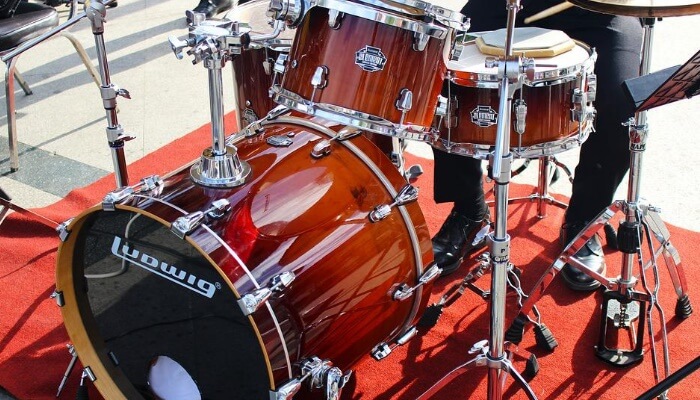
Drum sets are among the most visually appealing instruments for most musicians, without a doubt.
However, a drum kit consists of many elements, so it is especially susceptible to becoming dirty with time.
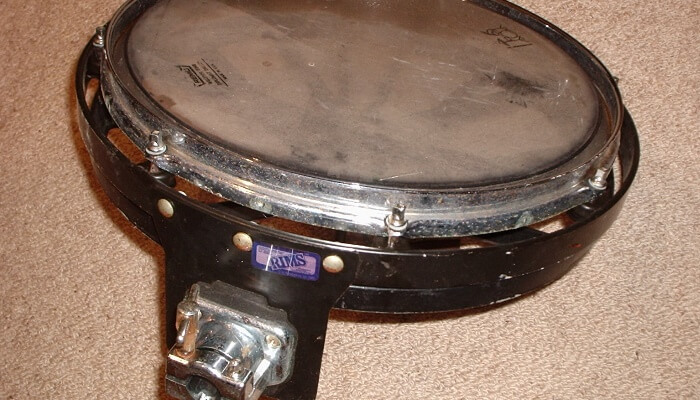
Dust begins to accumulate, and its hardware begins to fade. If you leave your drum set alone for an extended period, it will require cleaning.
How to clean a drum set properly? Look for guides no further than this article!
Why Is It Important to Clean Your Drum Set?
Many people think that cleaning a drum set is not compulsory. However, there are several reasons why you need to maintain your instrument very often.
Your instrument is most likely an expensive purchase. That is sufficient motivation to care and maintain it appearing as new as possible.
If you ever decide to sell that drum kit, it will be worth more if it is in good condition.
Cleaning your instrument is also crucial for maintaining its structural integrity.
Metal corrodes with time, while most drum sets have several metal components.
The damage will be less severe if you maintain all of the pieces clean than if you don’t maintain your set.
Cleansing your instrument might help to keep the sound quality of your drums.
Maintaining your instrument kit’s condition will help it retain the same sound as when it was initially purchased.
What’s the Right Way to Clean a Drum Set?
Some Tools You Will Need
Cleaning the dust and dirt is simple, but getting rid of the trapped debris will require some effort.
Before you start removing your drum kit, make sure you have the following items:
- Microfiber cloth
- 0.5″ brush
- 1″ brush
- A lubricant
- A masking tape
- Petroleum jelly
- Chrome polish without abrasives
- Water
- Soap
How To Clean A Drum Set?
Below are step-by-step guides to make your cleaning instrument task more straightforward:
Step 1: Take apart your drum kit.
Take proper care not to harm the surface of your instrument when you disassemble it.
If you don’t know how to disassemble your instrument, review the manual instructions or look for tutorials on YouTube.
When disassembling your set, remember to keep it orderly.
Hardware should go in one section, wooden components in another, and metal items in another.
This step is necessary since you need to use a different cleaning solution for each kind of material.
Moreover, it’s far more convenient to have everyone together and available to assemble.
Step 2: You Need To Brush the rims.
After you’ve taken all of the components of the instrument apart, brush any chips off the rims.
Rims may crack as a result of overuse or aging. These chips will ruin the tone of your instrument.
Brush any fine dirt left behind because of various items you’ve applied off the rims with a 1″ brush with tiny bristles.
If any stubborn fragments don’t come out, use a 0.5″ brush to remove them. Do the same thing with the snare and toms.
Once they’re sparkling and free of debris, you’ll realize the cleaning task is completed.
Step 3: Give the Rims a thorough polish and Hardware.
It’s critical to use low-tack adhesives like masking or painter’s tape to preserve the wood surface of the rims from scratches.
This action will avoid any harm to the hardwood and save you from repeating the process later.
To make a cleaning solution, combine soap with water in a 1:1 ratio or vinegar with water in the same ratio.
Use a wet cloth for wiping off the rims with the cleaning solution.
While wiping down, you shouldn’t rub too hard to prevent scratching or harming the wood’s surface.
Use another clean cloth to wash the drum surface after using that soap solution and clean away any debris.
To remove any lingering debris or fibers from your instrument, wipe them off with your cloth. Any residue left on the surface might damage it.
You should clean in one direction using a microfiber cloth. Maintain a medium-light force to avoid damaging the instrument surface.
After washing, drying, and dusting the rims, it’s time to polish the hardware, rims, and cymbals.
You can use products such as a lubricant like WD-04 or chrome polish without abrasives.
Petroleum jelly will also effectively deter rust from growing on the metal surface of the instrument’s components afterward.
After the polishing step, it’s best to condition the components.
You may use an old brush or a cloth bathed in warm soapy water to apply a hardwood preservative on each rim surface.
This act will assist your drums in enduring longer and performing better in the long run.
Next, You can apply chrome polish to clean any metal instrument’s hardware.
Pour some polisher on a cloth or cotton swab and apply it straight onto the metal hardware to remove debris or scratches.
After you’ve polished the hardware, wash it off with WD40 or petroleum jelly.
It will polish the metal’s surface while protecting it from potential rust.
If you notice any rust on the hardware, scrape it away with sandpaper or fine metal wool.
If you want to make your metal wool, you can watch this video:
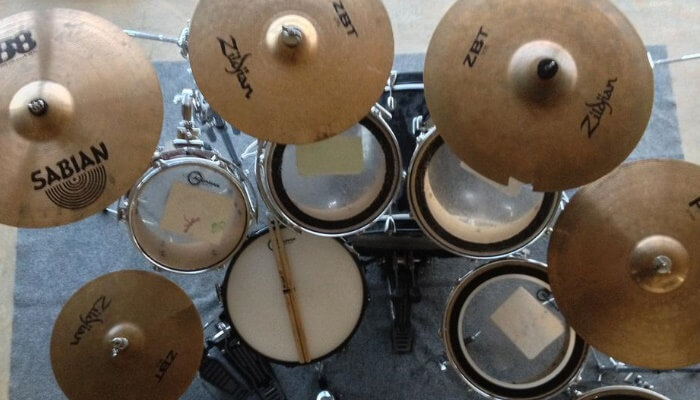
Utilize the same cleaning solution you applied on the rims to clean the cymbals of the instrument.
It will let them shine brilliantly once again by removing all build-up.
Step 4: Reassemble all components.
The most difficult aspect is assembling components after cleaning them.
To avoid cross-threading, apply petroleum jelly to the lug fasteners.
Gather all parts with care, and be careful to tighten anything first to ensure proper fit manually. After that, with the right tools, tighten the screws and assemble the components.

Tips To Maintain Your Drum Set
If you are a professional drummer, you can want to learn more tips to make your instrument always look new. Here are some tricks to consider:
- If you change the instrument’s skin for the next time, it’s best to put a dehumidifier packet inside your toms, bass drum, and snare.
- When it comes to cleaning hardware, using your steel wool is a good idea.
- Avoid scratches while cleaning and washing your instrument.
- No microorganism will be able to live inside any drum equipment if you keep them dry.
FAQs
What Should I Clean My Drums With?
You can use a solution of soap and water or vinegar and water in a 1:1 ratio.
What Is The Best Way To Clean A Drum Set?
Cleaning a drum kit is best accomplished with a cleaning solution that won’t harm the surface of your instrument or fade its colors.
Can You Use Windex To Clean Drums?
Windex comes in various types, but ammonium in classic glass cleaner may harm your instruments over time.
This cleanser is often too harsh for cleaning your instrument, so you should use something different instead.
How Do You Clean An Old Drum?
All you need is to apply all the steps mentioned above.
In A Nutshell
This article has eventually gotten to the bottom of your question: How to clean a drum set?
The cleaning process will generally encounter four main steps: disassembling your instrument, brushing the rims, polishing and conditioning components, and reassembling them.
Hopefully, this post will be helpful for you. Thanks for reading!